I’ve learned two very important principles in my 50-plus years of playing and coaching. The first is that golf is a game of hand-eye coordination, and since only you know what your eyes see, improvement mandates a certain level of self discovery. The second is that the path to righteousness (i.e., lower scores) lies down the left side of the fairway, not the right. In other words, you’ll continue to struggle until you learn how to draw the ball.
I’ll add one more: You need to perfect basic moves before you attempt advanced ones. And I mean perfect. There are no shortcuts in this game, but if you’re willing to commit to some basic training, you’ll hit shots you’ve only dreamed of.
These drills fully encompass these principles, broken down into four key lessons. Stick with them and you’ll learn how to control the clubface (so the ball won’t curve to the right); maintain balance (so you’ll always nail the sweet spot); steepen your angle of attack (so the ball will launch with the right amount of spin); and max out your body rotation (to create shots that carry a full club farther.) Sound like a plan? Let’s get started.
LESSON 1: GRIP STRONG
RULE: Grip strong before you grip weak.
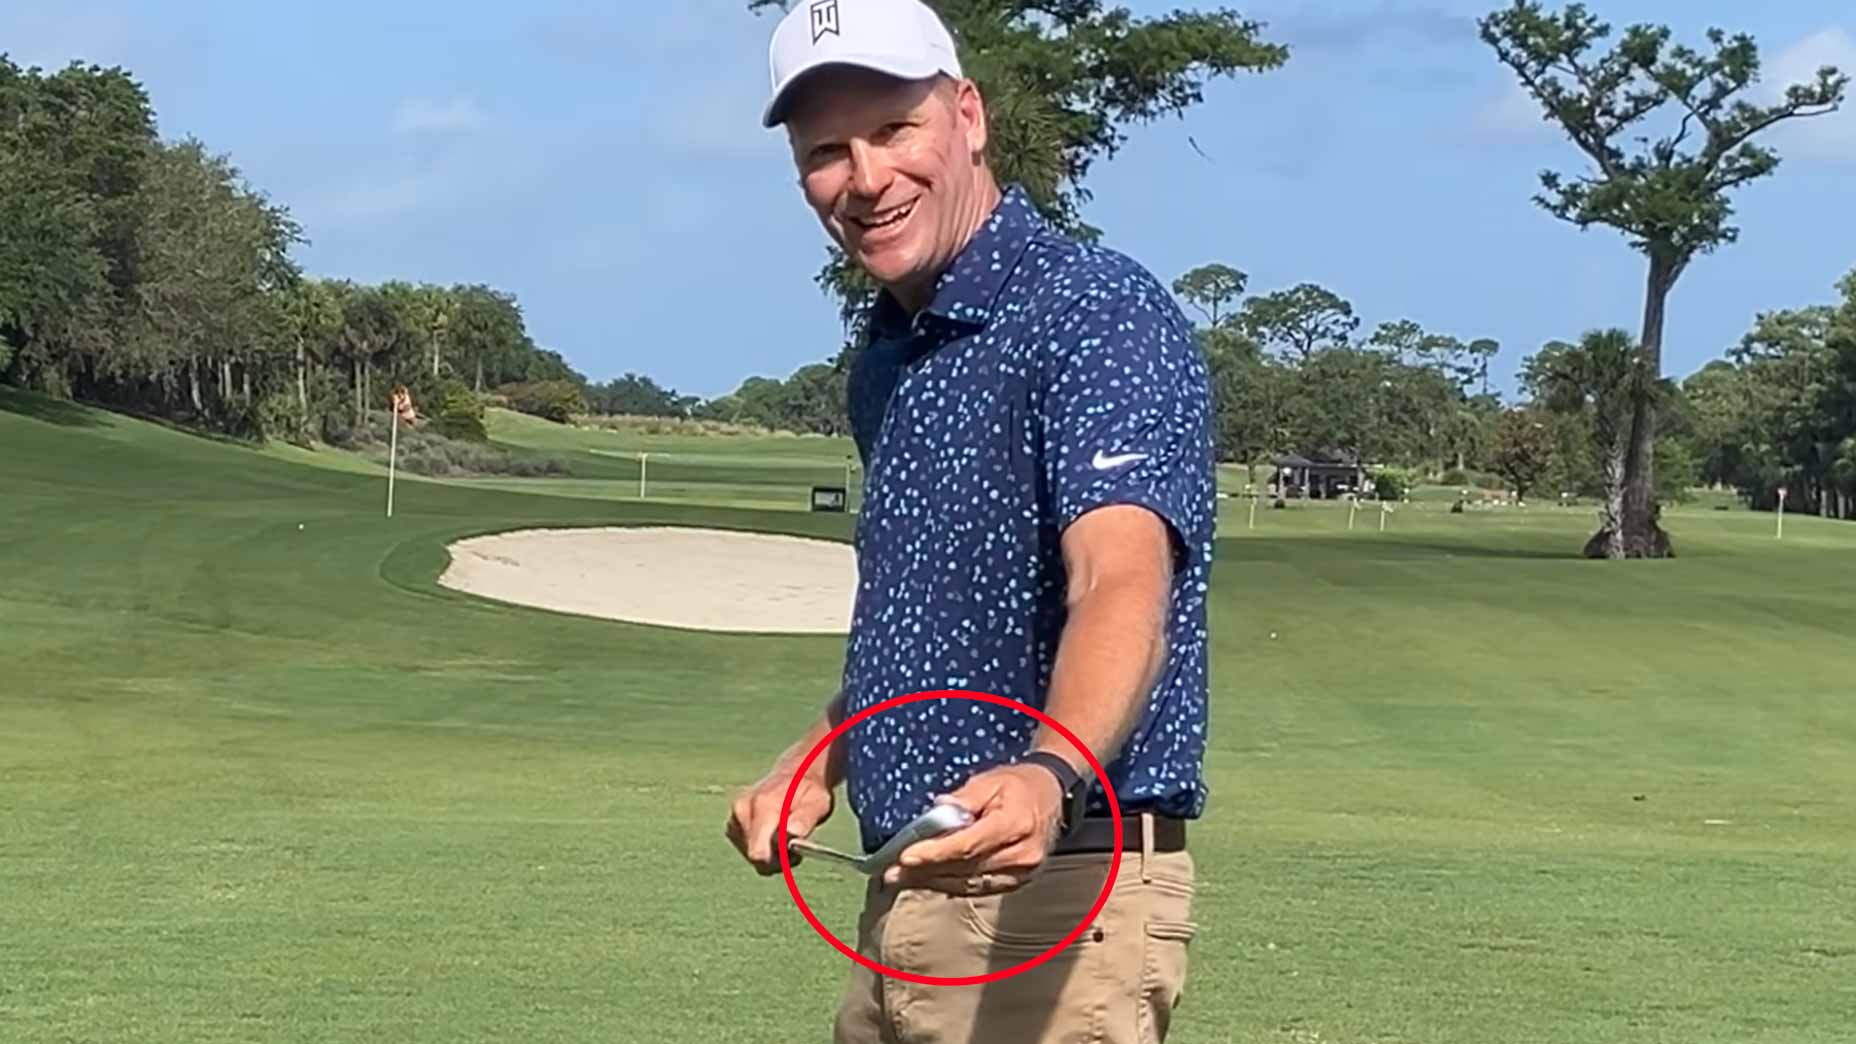
Starting out with a strong grip, rather than a weak one, makes it easier to draw the ball. Rotate both hands to the right as shown below, and use this hold in all drills until you can draw the ball at will.

DRILL: Point the tee. A strong grip alone won’t help you produce a draw. You need to actively “release” the club with your hands on both sides of your swing. Stick a tee in the cap of the grip and get it to point at the ball in your backswing and at the resulting divot in your through-swing (photo below). You’ve done it correctly when the ball gently curves left every time.

LESSON 2: ROTATE IN PLACE
RULE: Feet together before feet apart.
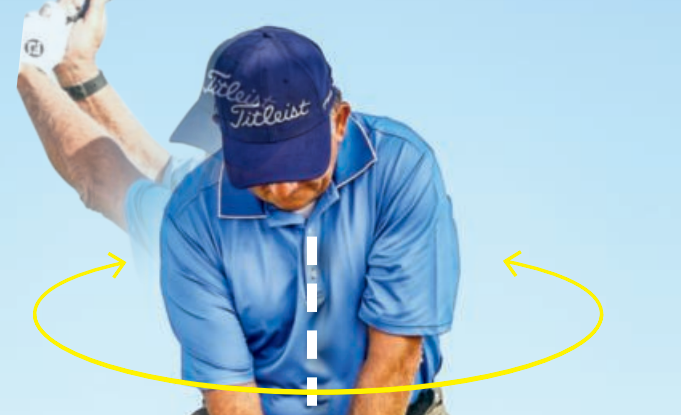
Swaying destroys balance and, thus, your chances of sweet-spot contact. Try to rotate around your body’s midline (photo below).

DRILL: Hit shots with your feet together. If you can pull off draws from this stance, your spin axis—and balance—will be money.
LESSON 3: PLAY THE BALL BACK
RULE: Play the ball back before moving it forward.
Check out the downswing path indicated by the balls below: The club descends into the impact zone from inside the target line. This is a huge part of solid contact, and helps create the right amount of spin to get shots airborne. Trying to “scoop” the ball or hit from the outside will likely result in a slice.

DRILL: Starting with your most-lofted irons, hit shots with the ball positioned off your right foot, and keep at it until you can consistently produce a push-hook. Only then are you allowed to move the ball forward to a more normal position. The trick? Get your hands and arms moving down, not forward, from the top, and delay your shoulder rotation so you don’t spin out and come over the top (two automatic slice errors). This is a powerful exercise, because if you can catch the ball flush when it’s back in your stance, it means you’re rotating nicely around your center in your downswing, instead of lunging toward the target.
LESSON 4: LIFT YOUR LEFT FOOT
FACT: Your feet control your knees—the more you restrict them, the more you’ll restrict your lower-body action. Your knees control your hips, and your hips control your shoulders. So if you want to max out your shoulder turn (and overall swing power), you have to start with your feet.
Unless you’re a Tour player or a gymnast, unleash your feet by lifting your left heel on your backswing. You’ll supersize your turn and your power with every single club in the bag.