

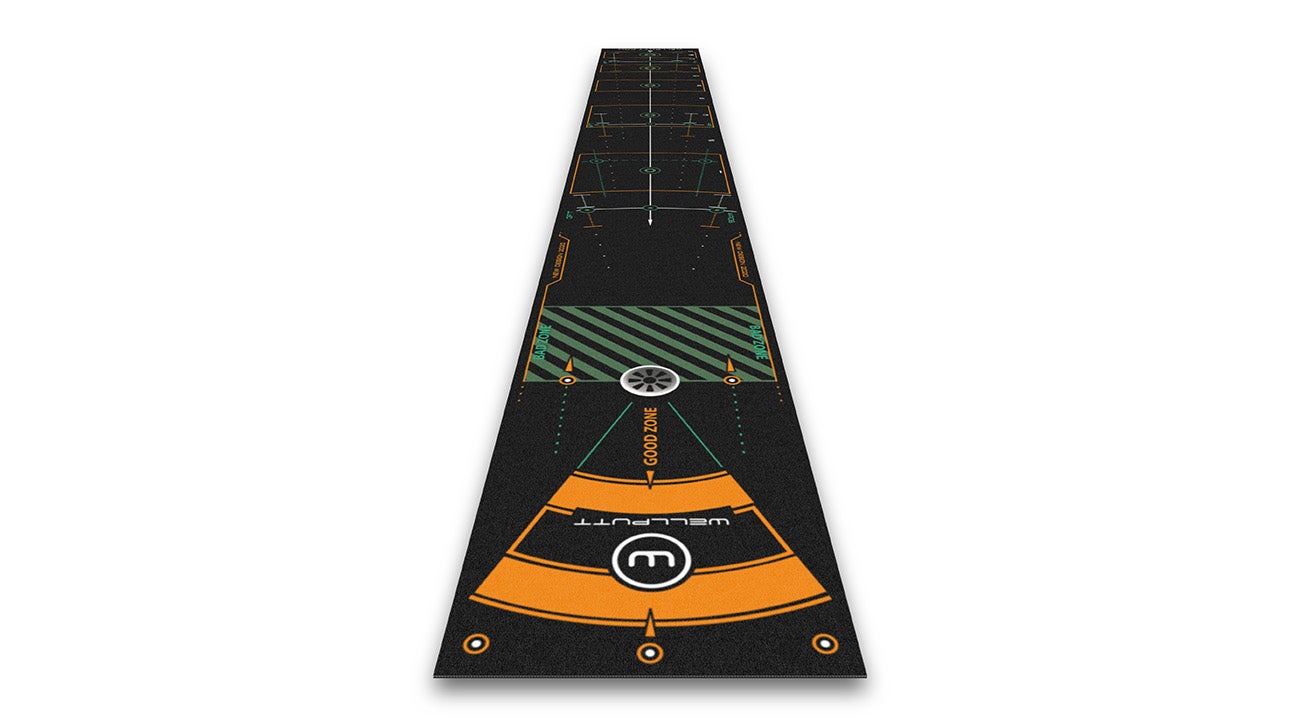
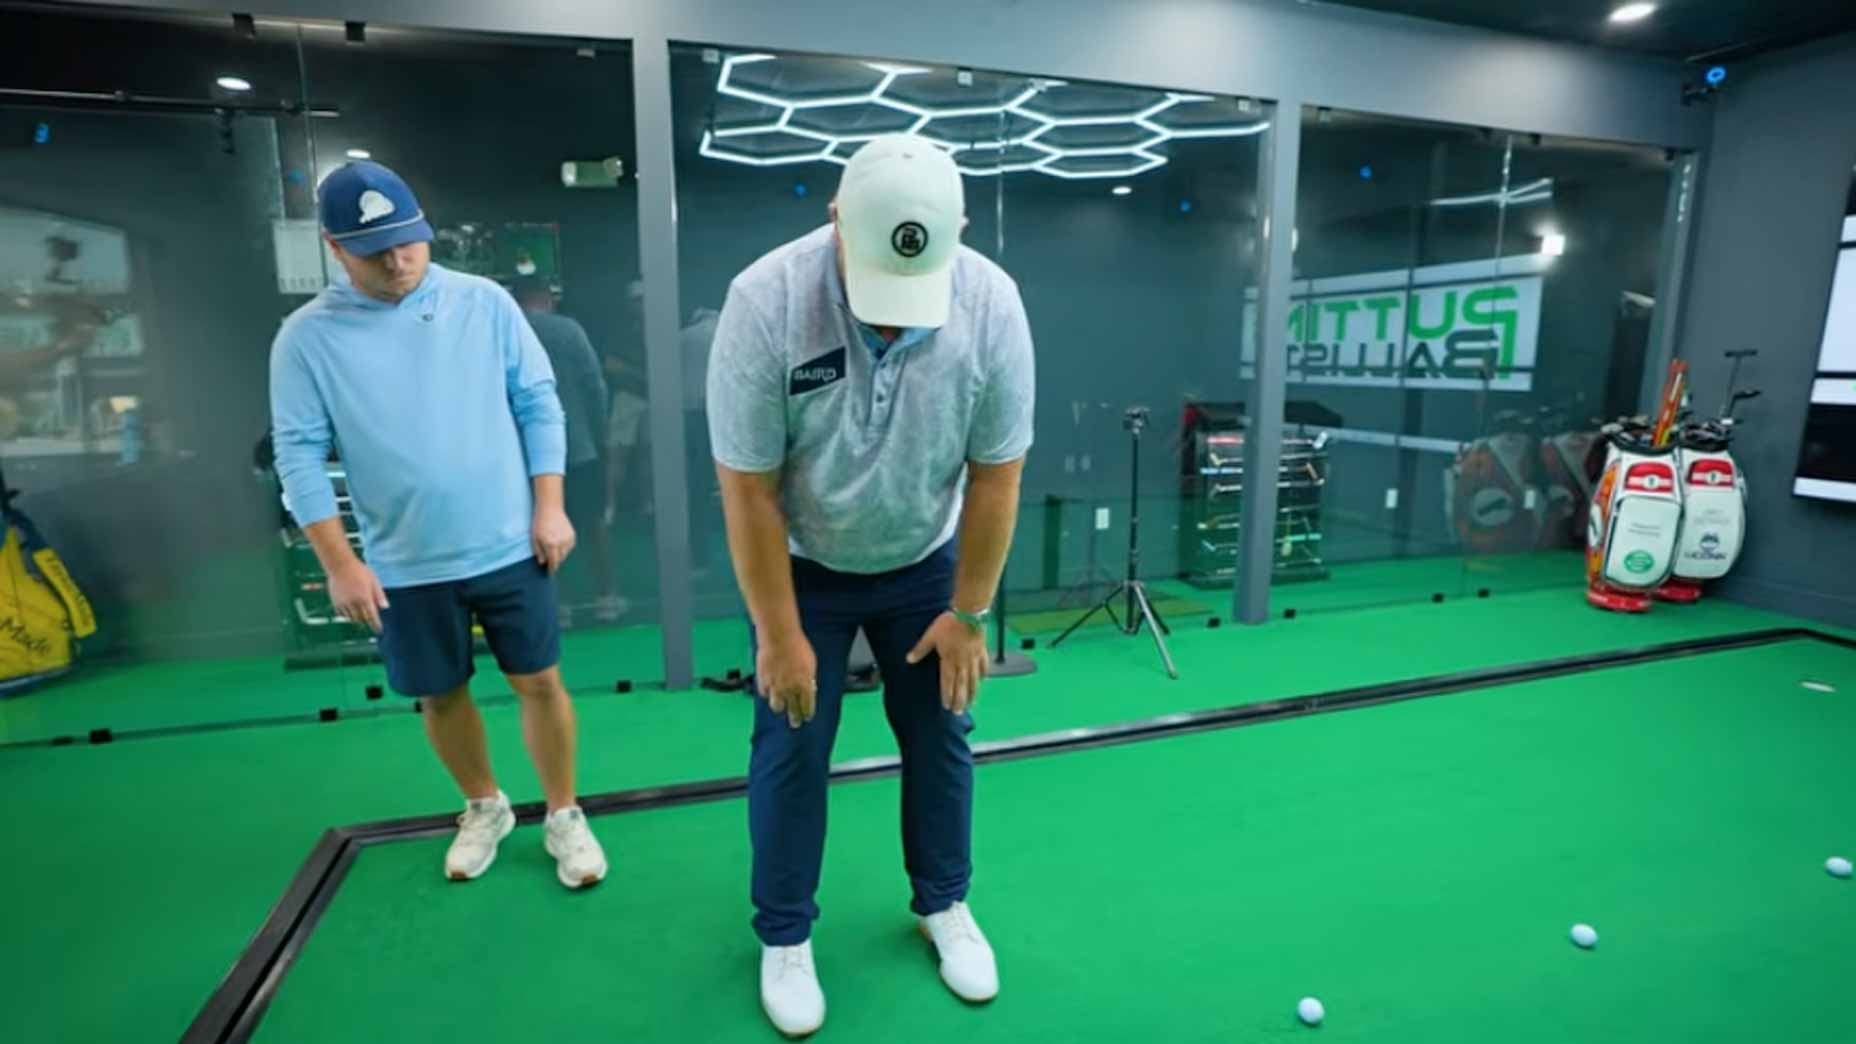
 Tour coach reveals putting non-negotiable every golfer should know
Here’s how YOU can build an epic backyard golf hole — with stuff you already own!
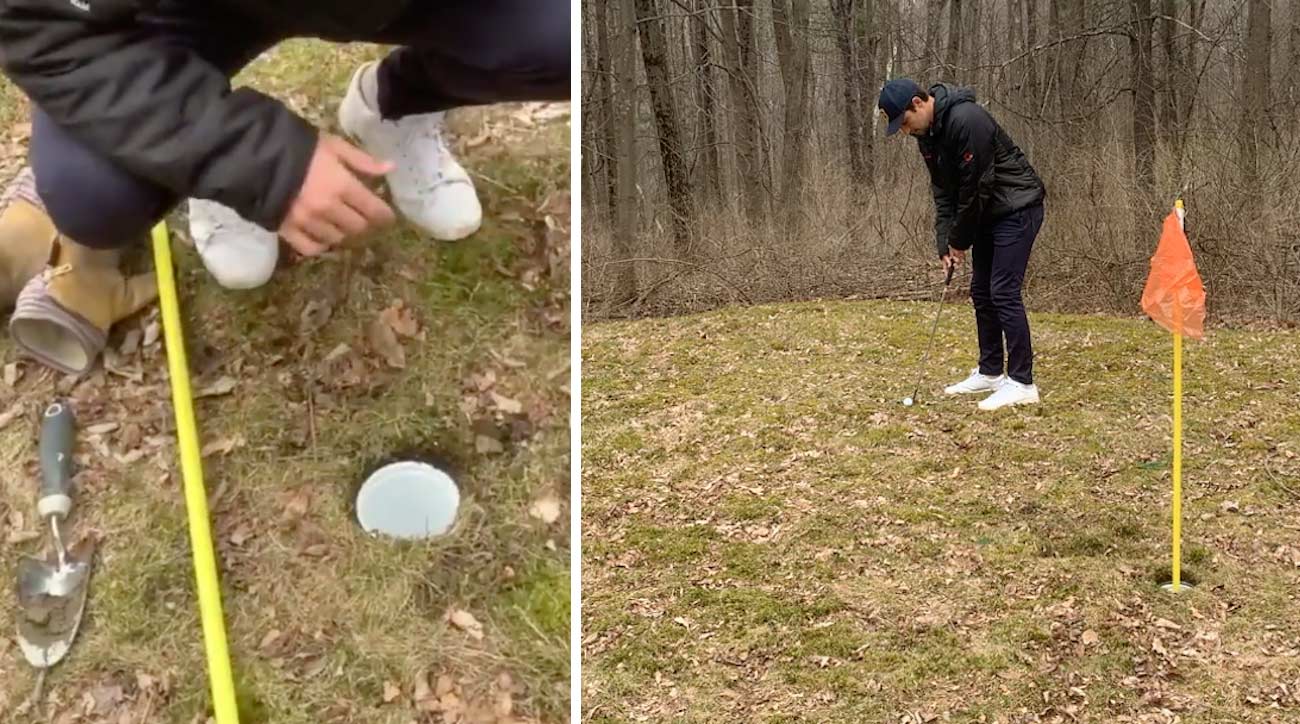
WILLIAMSTOWN, Mass. — I am, at the moment, a golf writer with very little to write about (there are only so many mini-tour gambling stories, after all). But while I may be stuck in self-quarantine at my parents’ house in small-town western Massachusetts, I have not given up on serving you, dear readers. Nor have I given up on playing golf.
As a result, I would like to present Dethier National: a one-hole course constructed in a single afternoon with the following miscellaneous household items:
Yogurt container
Cashew container
Butter knife
Small garden shovel
Broom handle
Scissors
Newspaper bag
Duct tape
Here’s the process I’d recommend:
1. Pick the perfect cup size
I had no idea just how big actual golf holes were, when compared with various things in my kitchen. Salsa jar? Way too small. Skippy’s peanut butter? Still too small. A can of Planters Peanuts is close — four inches in diameter — but still too small. How do these guys miss so many putts with such a big target?!
No, the true diameter of a golf hole is 4.25 inches. What that translates to, kitchen-speak, is a traditional-sized plastic container. I bet you’ve got at least one in the fridge. Guacamole. Cottage cheese. I found a large (that part is important) yogurt container which measured almost exactly 4.25 inches from edge to edge. Onward.
2. Get a second cup that’ll fit in the first cup
Sound confusing? Check out the video below and it’ll make more sense. Basically you want an inner cup, also 4.25 inches in diameter but half the height, that will fit inside the first cup. This is going to be key in supporting your flagstick.
PERSONAL ANNOUNCEMENT: I built a golf hole in my backyard using miscellaneous household items https://t.co/uO1Td8UIFz
— Dylan Dethier (@dylan_dethier) March 19, 2020
3. Pick out a flagstick
Consider a few factors when selecting your flagstick. You want it tall enough that it feels legit, skinny enough that the ball will still fit in the hole and light enough that it will stay in place. I took the head off a mop and used the handle. Nice yellow color, too!
ADVERTISEMENT
4. Cut a hole in the smaller cup
I chose an empty cashew container for my smaller cup, as described in No. 2. Then I traced a circle in the middle of that cup, exactly one mop-handle in diameter. Cut that out with some scissors, but be careful — don’t go too wide! Otherwise your flagstick won’t stay in place.
5. Dig your hole
Find a nice, relatively flat section in your yard (doesn’t have to be TOO flat, unless you keep your lawn stimping 12). Flip over your larger cup (from No. 1) and cut a hole around it using a butter knife. You can keep gouging away with that knife, if it’s all you’ve got, but if you’re lucky enough to have a small garden shovel lying around, I’d recommend it. Maybe some gloves, too, if you’re not into rocks, roots, dirt or worms.
6. Assemble your cup
First drop in the big cup (from No. 1) slightly below the surface of the ground — you don’t want any putts catching on that lip. Then put the small cup (No. 2) on top. Then insert the flagstick (No. 3) through the hole in the small cup. If you’ve sized it all correctly, it should stay in place!
7. Pick a flag
When it comes to choosing a flag, I’d go with something light and waterproof. You want that baby swaying in the breeze! I took one of those plastic bags newspapers come in (shoutout newspapers) and cut it in half. Nice color, perfectly waterproof and light as could be. Tape that to the mop handle and you’re officially in business!
PERSONAL ANNOUNCEMENT: I built a golf hole in my backyard using miscellaneous household items https://t.co/uO1Td8UIFz
— Dylan Dethier (@dylan_dethier) March 19, 2020
8. Play away!
Get some fresh air, entertain the kids (read: yourself), take on a project and satisfy that golf itch — all without leaving home?! I can’t recommend this highly enough.
To receive GOLF’s all-new newsletters, subscribe for free here.
ADVERTISEMENT
Tour coach reveals putting non-negotiable every golfer should know
 The key to better ball striking? Fix this part of your swing
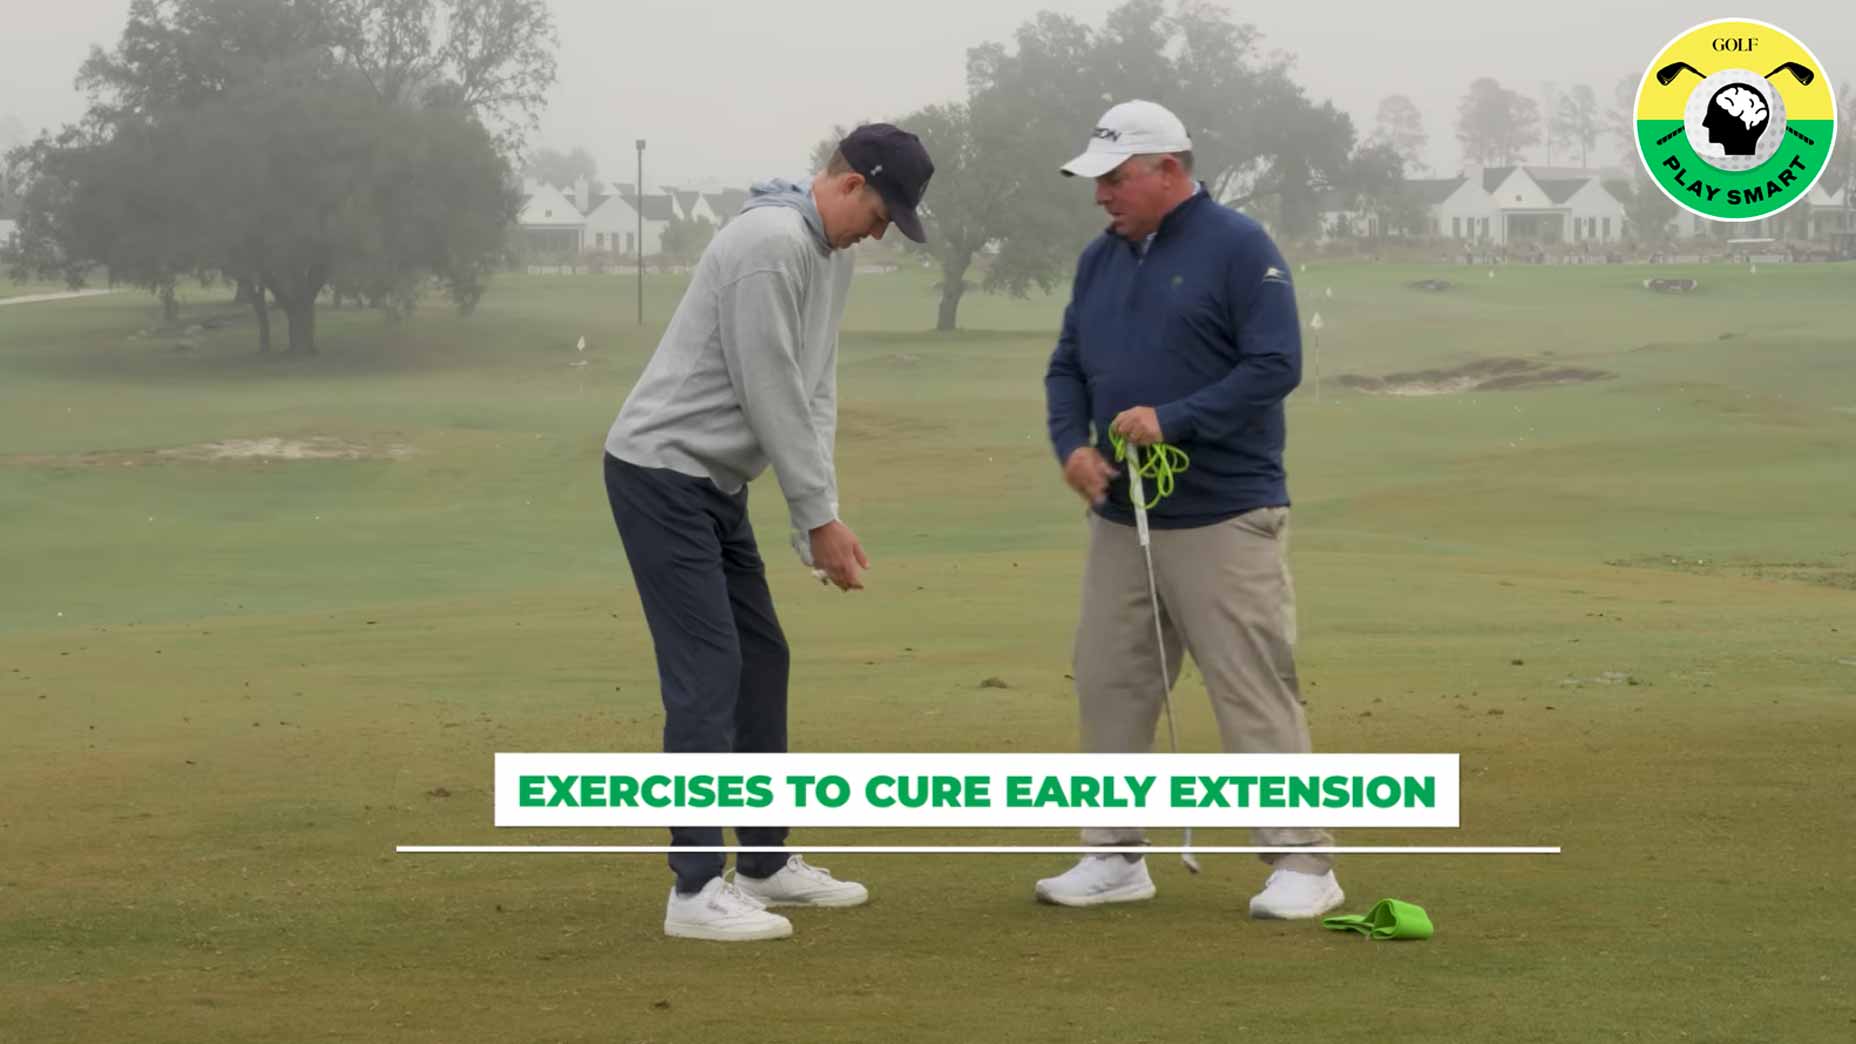 Do these 3 exercises to cure your early extension for good
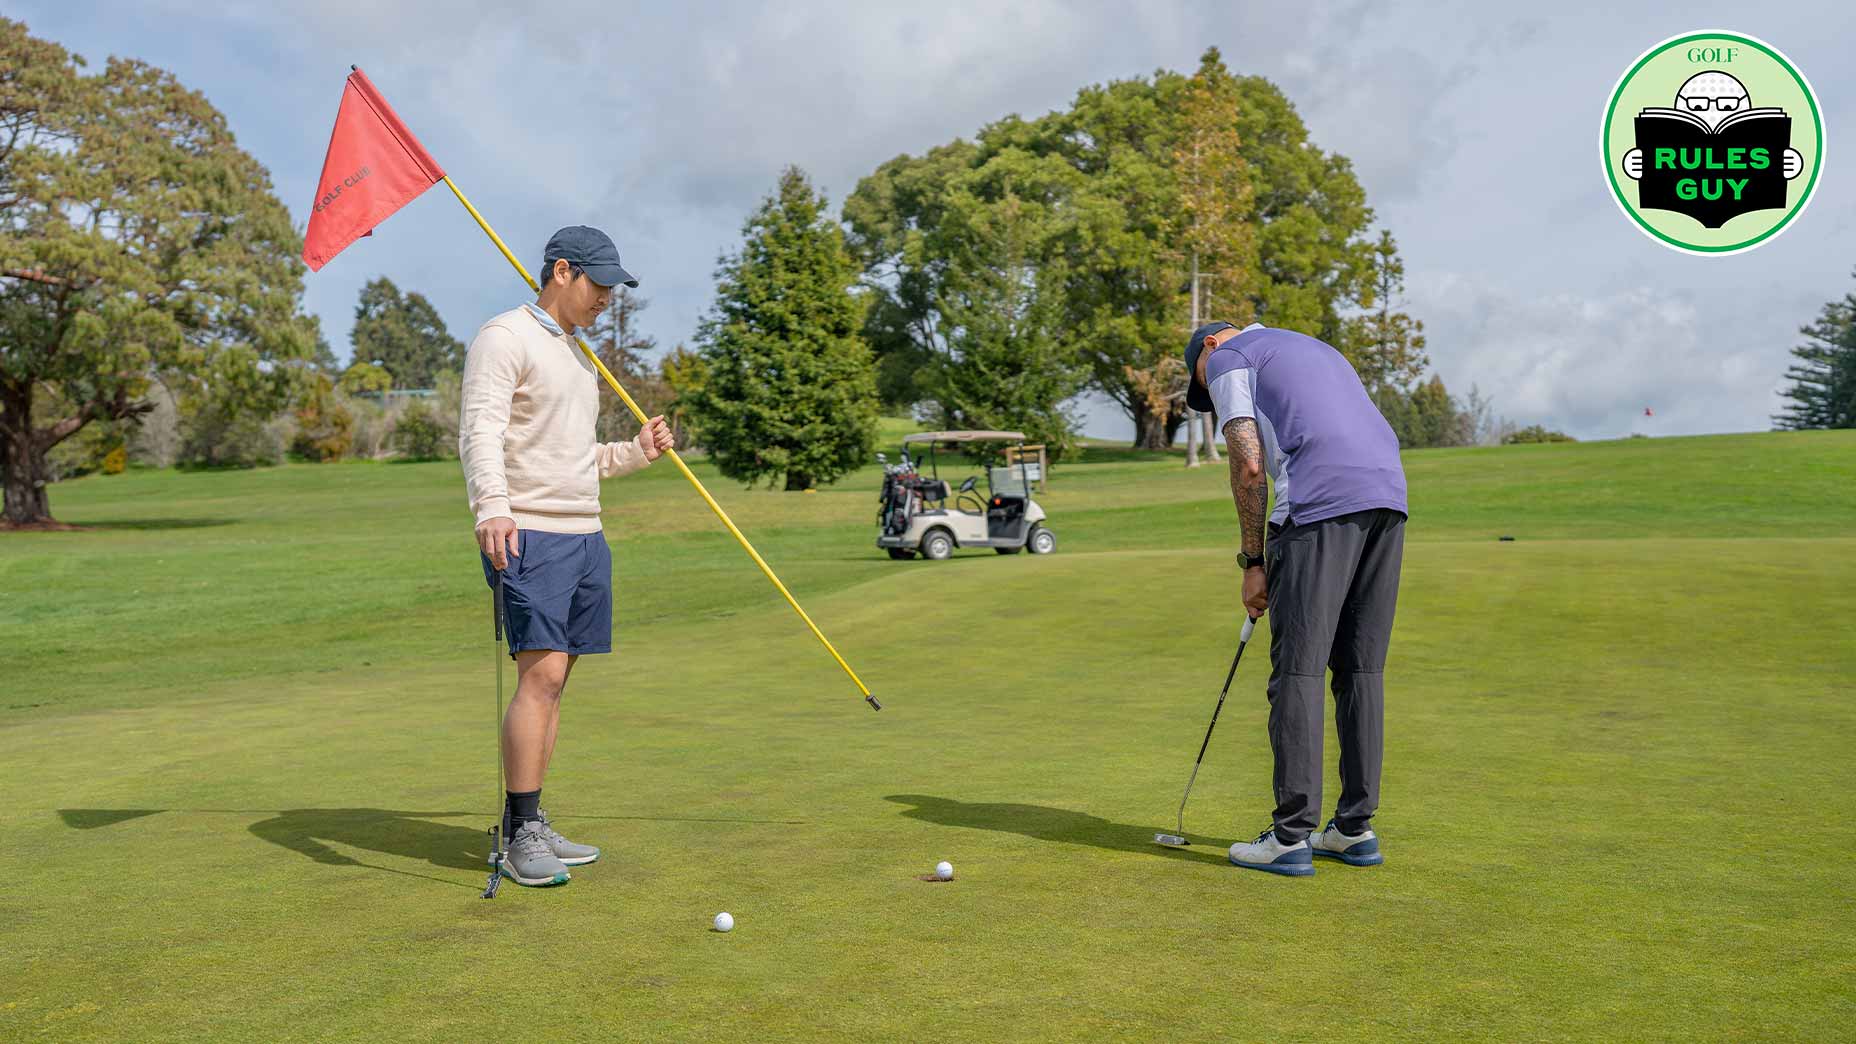 Rules Guy: Can I play two balls to post two scores?
 To shoot lower scores, you need to understand these 2 types of practice
Tour coach reveals putting non-negotiable every golfer should know
The key to better ball striking? Fix this part of your swing
Do these 3 exercises to cure your early extension for good
Rules Guy: Can I play two balls to post two scores?
To shoot lower scores, you need to understand these 2 types of practice
To shoot lower scores, you need to understand these 2 types of practice
Tour coach reveals putting non-negotiable every golfer should know
The key to better ball striking? Fix this part of your swing
Do these 3 exercises to cure your early extension for good
Rules Guy: Can I play two balls to post two scores?
To shoot lower scores, you need to understand these 2 types of practice