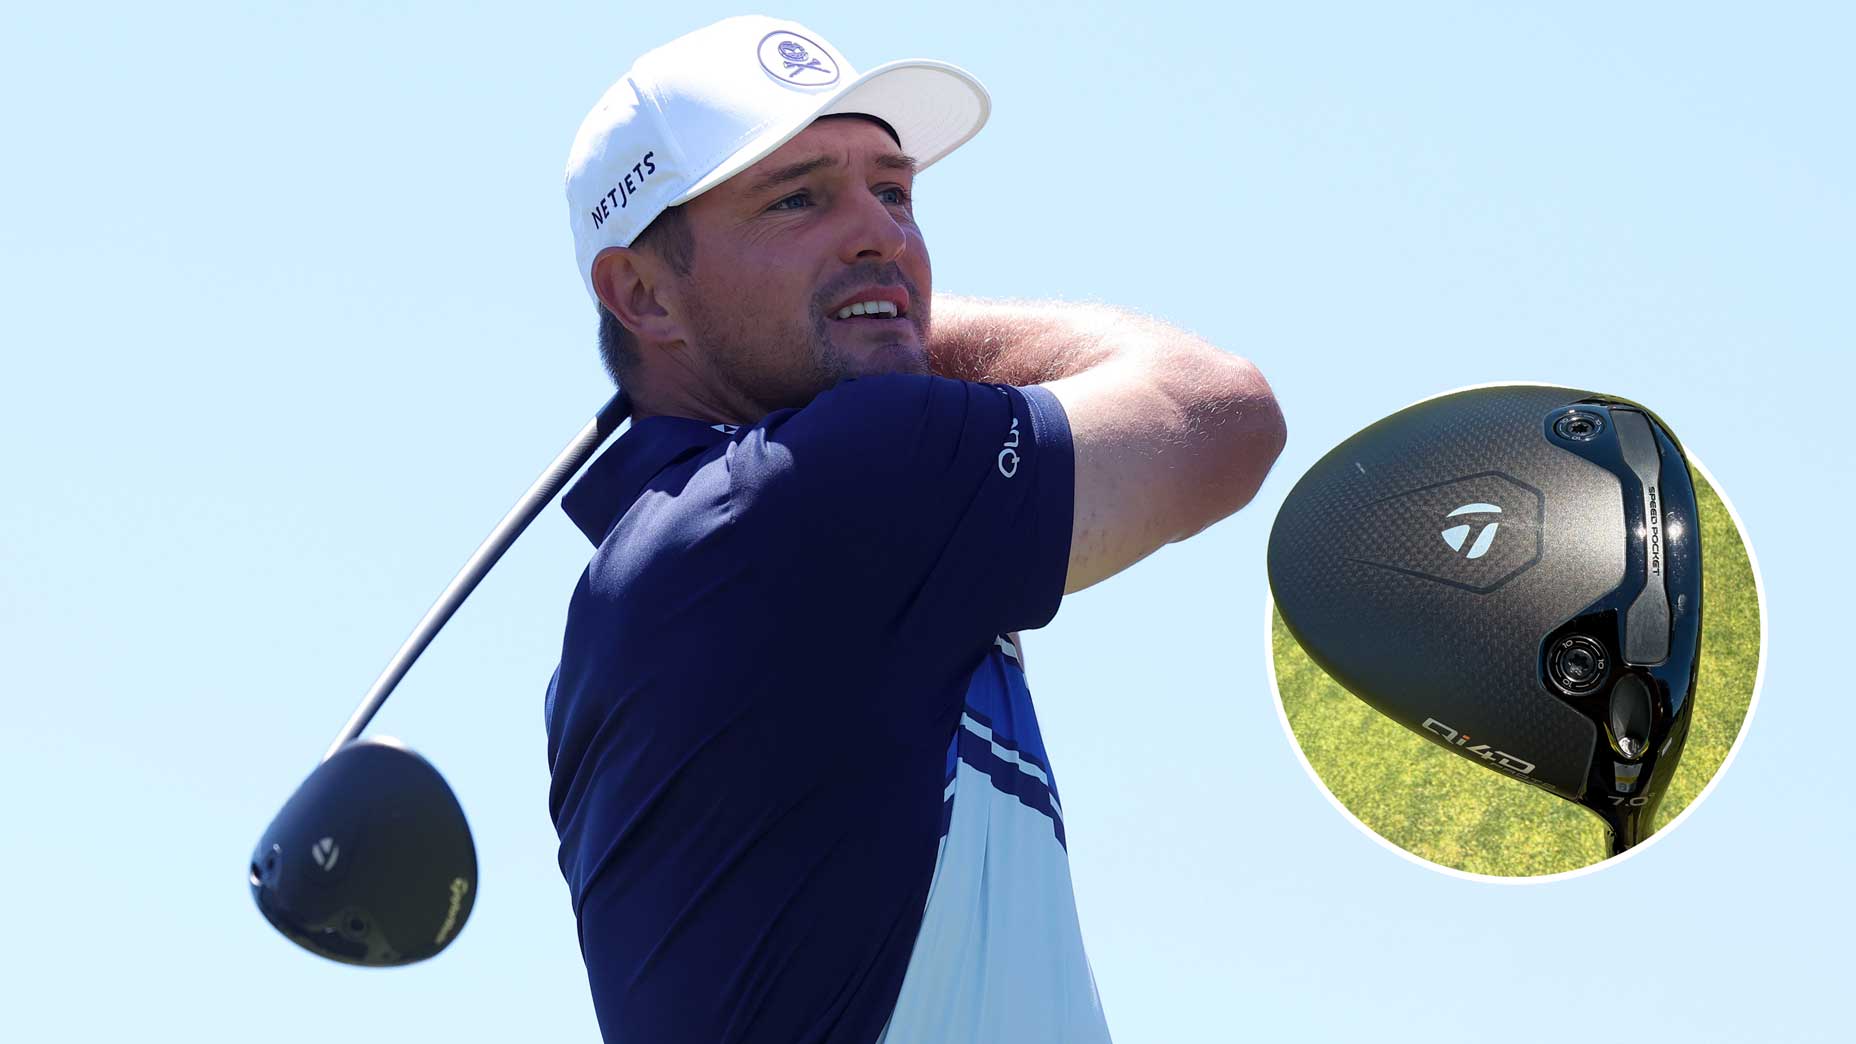
 Inside Bryson DeChambeau’s prototype TaylorMade Qi4D driver at the U.S. Open | Tour Report
Gear 101: Where to place lead tape on your driver to fix your common miss

February 4, 2020
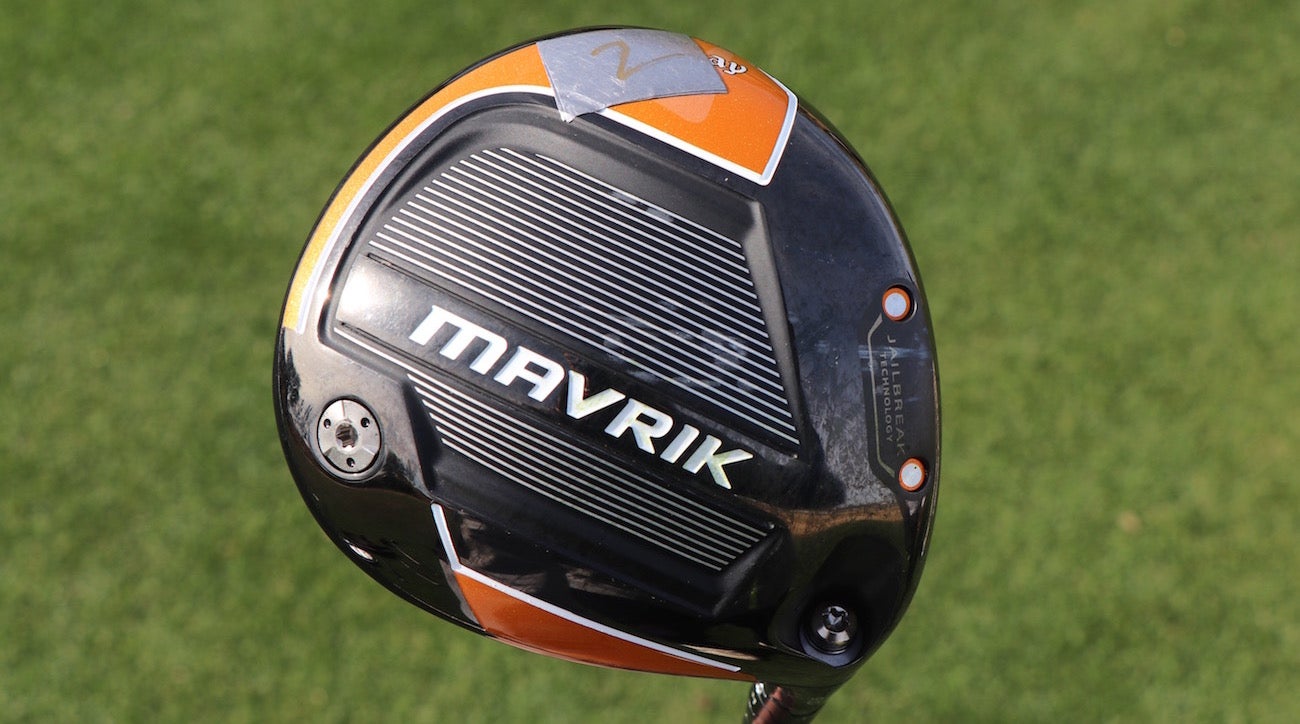
To help golfers find the right driver setup for their game, many drivers on the market in 2020 have weight adjustability built into their heads. These sliding or otherwise adjustable weight systems allow golfers and fitters to drastically affect the way a golf ball flies in the air. Launch angle, spin rates and draw/fade biases can be tweaked with a few turns of a wrench.
For more minute changes, or for drivers that don’t have weight-adjustable features, there’s a trick of the trade that even pro golfers use on their clubs: lead tape.
Club builders on Tour sometimes use a fancier trick — called hot melt, or “rat glue” — to induce small weight changes in driver heads. Lead tape, however, can have a similar effect. Plus, lead tape is more easily accessible and inexpensive.
Available in most golf shops or sporting goods stores, lead tape offers golfers a quick and easy way to help reduce their miss. If you suffer from a nasty slice, a big hook, a balloon ball, or need help getting the ball in the air, lead tape can make a huge difference.
One inch of lead tape weighs about 1.8-2 grams, depending on the thickness. That also equates to about one swingweight, so be careful not to use too much or you’ll drastically affect the feel of the club head and balance point of the club overall.
Below is a quick guide to determine exactly where you should apply lead tape on your driver head to make the change you want to see in your ball flight.
Hitting the ball too low, or need more forgiveness?

By applying lead tape to the rear portion of the sole away from the face, you can effectively pull CG (center of gravity) more rearward. This will make the driver both higher-spinning and higher-launching. The result will be a driver that’s easier to hit straight and launch high.
Hitting the ball too high, or with too much spin?
Apply lead tape on the front portion of the sole near the face. This will drag CG low and forward, helping knock spin rates down and lower the ball flight. Watch out, because this lead tape positioning could reduce forgiveness, thus placing greater importance on center strikes.
Are you slicing the ball, or want to hit more of a draw?
ADVERTISEMENT

Apply lead tape to the heel portion of your driver head for more dynamic closure of the face as it reaches impact. Think about it like this: the heel will be weighed down by the added weight from the lead tape, freeing up the toe to release more.
Are you hitting a hook, or want to hit a fade?
To keep the toe from releasing too much through impact, place lead tape on the toe portion of the driver sole. Think about it like this: the lead tape on the toe section will restrict the release of the toe. The result will be a face that stays open longer, helping you reduce the hook or even hit the reliable baby fade.
Remember: Due to the general rules of CG, placing weight closer to the face will make it lower spinning, lower launching and less forgiving. Placing weight more toward the rear portion of the head will make it higher spinning, higher launching and more forgiving. To simply add weight to the head, place lead tape directly in the center of the sole; this will slightly lower overall CG, as well, which can be beneficial for most golfers.
To hear more gear insights from Jonathan Wall and True Spec’s Tim Briand, subscribe and listen each week to GOLF’s Fully Equipped podcast: iTunes | SoundCloud | Spotify | Stitcher
ADVERTISEMENT
Inside Bryson DeChambeau’s prototype TaylorMade Qi4D driver at the U.S. Open | Tour Report
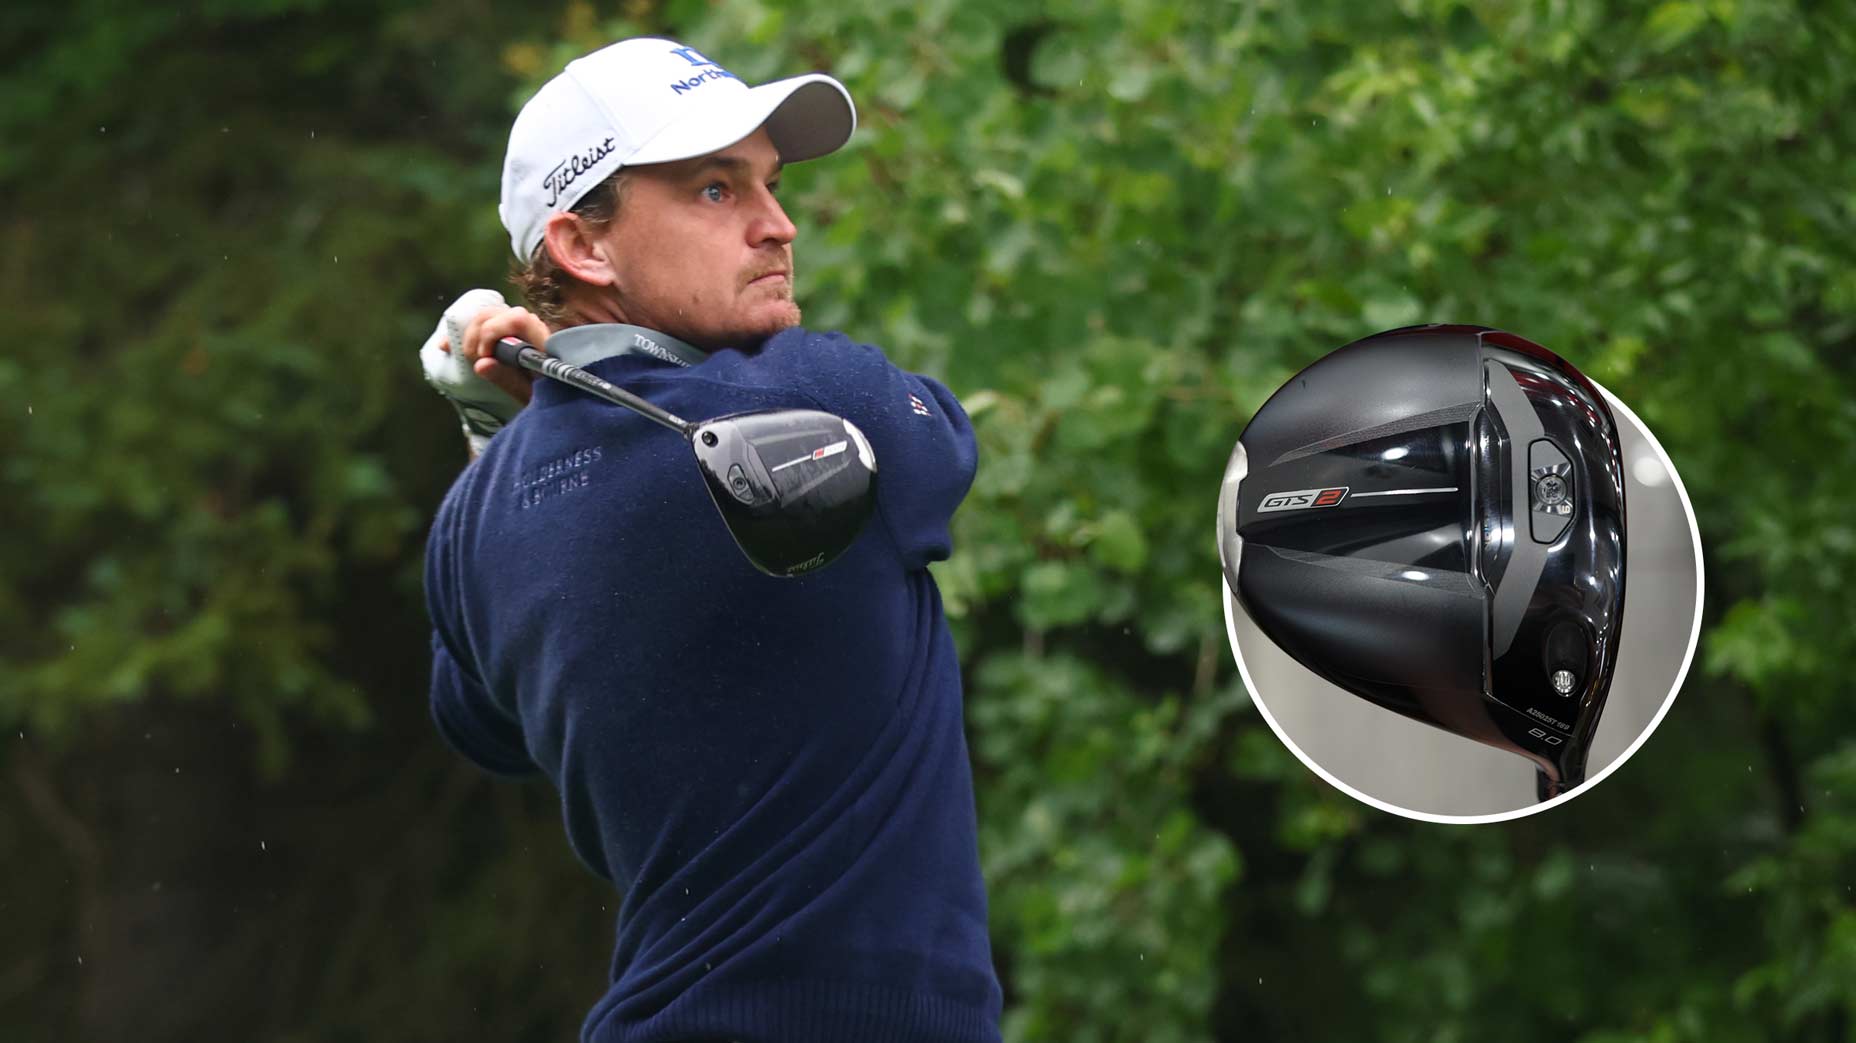
 My Titleist GTS driver fitting became a learning experience that changed my entire golf season
 Bud Cauley’s win has PGA Tour’s hottest driver rolling into the U.S. Open
 One big reason the Titleist GTS lineup takes a big leap from GT
 Viktor Hovland brought 1 driver to Canada. It wasn’t his gamer | Tour Report
Inside Bryson DeChambeau’s prototype TaylorMade Qi4D driver at the U.S. Open | Tour Report
My Titleist GTS driver fitting became a learning experience that changed my entire golf season
Bud Cauley’s win has PGA Tour’s hottest driver rolling into the U.S. Open
One big reason the Titleist GTS lineup takes a big leap from GT
Viktor Hovland brought 1 driver to Canada. It wasn’t his gamer | Tour Report
Viktor Hovland brought 1 driver to Canada. It wasn’t his gamer | Tour Report
Inside Bryson DeChambeau’s prototype TaylorMade Qi4D driver at the U.S. Open | Tour Report
My Titleist GTS driver fitting became a learning experience that changed my entire golf season
Bud Cauley’s win has PGA Tour’s hottest driver rolling into the U.S. Open
One big reason the Titleist GTS lineup takes a big leap from GT
Viktor Hovland brought 1 driver to Canada. It wasn’t his gamer | Tour Report